Required leg envelope
Measure the available base length, upright height and width around the mounted item, neighbouring hardware and access tools.
 EazyMake 3DUseful parts. Made easy.
Editable bracket template
This starter builds a 50 mm-wide angle with 60 mm base and upright legs, 5 mm material, two side gussets and two countersunk fixing holes on each leg. Adjust the envelope and hole layout, then test the real fastener before printing the bracket.
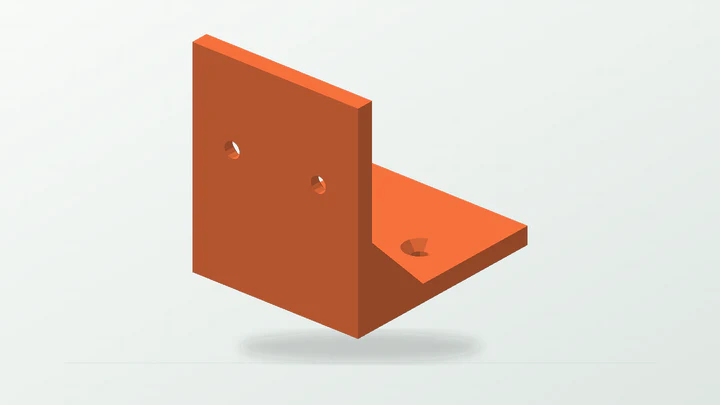
A dimensional mounting prototype with visible hole and edge constraints—not a shelf-load calculation or a rating for the printed material, fasteners or mounting surface.
The starter dimensions are there to make the controls understandable. Replace them with evidence from the real part, space and print setup.
Measure the available base length, upright height and width around the mounted item, neighbouring hardware and access tools.
Measure the actual shank, head diameter and countersink angle instead of selecting a hole from the fastener name alone.
Define offsets from the outside corner and spacing along each leg while preserving edge distance, backing and gusset clearance.
Identify force direction, leverage, vibration, pull-out risk and substrate condition for a separate application assessment.
These values produce the preview shown above. They remain editable after the template opens in the EazyMake studio.
The generator keeps the important decisions visible and carries one parameter set through geometry, inspection, calibration and export.
Define the leg envelope, corner access and neighbouring features before choosing material thickness or gusset size.
Set the base and upright hole count, spacing, offset, opening kind and seat style while watching the resolved edge and web limits.
Confirm the selected side gussets do not collide with holes or the mounted item and that the intended print orientation is practical.
Use the smaller, selected and larger finished-hole trials with the real fastener before committing to the complete bracket.
Inspect and export the printable mesh, then evaluate the complete bracket, fasteners, substrate and applied loads under a separate test plan.
Answers specific to this starter and the measurements it exposes.
It is 50 mm wide with 60 mm base and upright legs, 5 mm thickness and 18 mm side gussets. Every dimension remains editable in the Bracket Builder.
The template defines a finished 4.5 mm opening and 90-degree countersink geometry; it does not assign a nominal fastener. Measure the actual shank and head, then use the coupons.
No capacity is established. Gussets change the geometry, but material, print orientation, fasteners, substrate, leverage and long-term creep still require a separate engineering assessment and physical test.
Yes. Each leg has its own hole count, spacing, offset, opening and seat controls, subject to the generator's edge, web, backing and gusset constraints.
Use the guide when you need the reasoning, or open another template to see the same measurement-first workflow in a different part family.
Open the real generator, replace the example dimensions and keep the calibration result tied to your printer and material.