Fitting entering the socket
Measure the real outside diameter at several positions and check for taper, seams, ribs or out-of-round geometry.
 EazyMake 3DUseful parts. Made easy.
Editable dust-port adapter template
This starter joins a 35 mm socket end to a 50 mm spigot through a tapered open passage. Measure both real workshop fittings, choose the engagement lengths and wall, then print the separate end-fit trials before committing to the complete adapter.
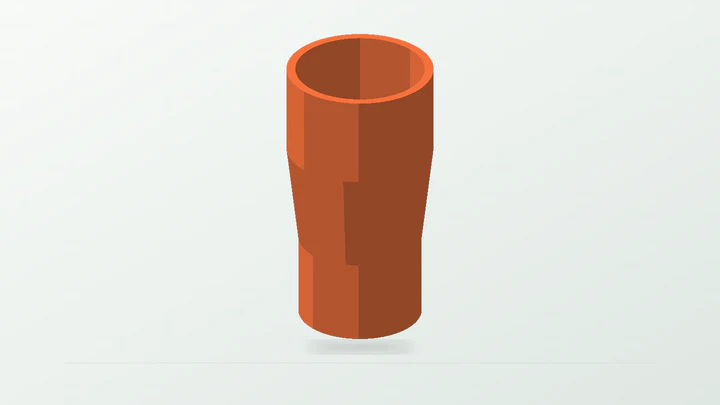
A measurement-led starting point for an awkward workshop connection—not a claim about nominal hose sizes, universal dust-port standards, airflow or vacuum performance.
The starter dimensions are there to make the controls understandable. Replace them with evidence from the real part, space and print setup.
Measure the real outside diameter at several positions and check for taper, seams, ribs or out-of-round geometry.
Measure the real inside diameter and the usable depth before deciding the spigot diameter and engagement length.
Record how much of each connection can engage without striking shoulders, blast gates, clamps or internal obstructions.
Check the 34 mm transition space, surrounding equipment and how the finished adapter will be supported independently of its printed fit.
These values produce the preview shown above. They remain editable after the template opens in the EazyMake studio.
The generator keeps the important decisions visible and carries one parameter set through geometry, inspection, calibration and export.
Do not rely on the advertised hose or port size. Record the actual mating diameters, shapes, shoulders and usable engagement depths.
The socket grows around a measured male fitting; the spigot shrinks to enter a measured female port. Keep those clearance directions explicit.
Adjust transition length and wall thickness, then inspect the internal shoulder, outside envelope and intended print orientation.
Use the tighter, selected and looser trials for each real fitting with the same material and profile planned for the adapter.
Export the checked printable mesh, then test the supported assembly for fit and application behaviour without inferring a rating from the STL.
Answers specific to this starter and the measurements it exposes.
With 0.25 mm radial clearance, the 35 mm socket starts at a 35.50 mm bore and the 50 mm spigot starts at a 49.50 mm outside diameter. Measure and trial both real fittings before using those values.
Yes. The Adapter Builder supports measured circular end styles independently. Recheck the engagement, transition and print orientation after changing an end style.
There is no universal fit claim. Advertised sizes can describe different surfaces, and real ports may be tapered, ribbed or out of round. Measure the exact parts and print both fit trials.
The generator creates an open tapered passage, but it does not calculate pressure loss, collection velocity, turbulence or system performance. Those require separate application assessment and testing.
Use the guide when you need the reasoning, or open another template to see the same measurement-first workflow in a different part family.
Open the real generator, replace the example dimensions and keep the calibration result tied to your printer and material.